For The Wonderful Adventure of Nils there was a sequence where the main character was being chased by an evil fox through a dark forest, and a section where they were running through a field of ice. I had a go at creating some ice blocks that would bob as they ran through, and as the scene was in a lovely watercolour style, I wanted to get the ice looking right.
I looked around for tips on rendering watercolour effects and came across this page (not strictly a tutorial) where they used a ramp shader, but instead of using different colours in the ramp they use different texture maps for the light, middle and dark areas. They also used a different technique to apply the textures, using the camera to project onto the objects instead of applying it to it’s existing UV map.
This is the process I used for the watercolour shading on the ice blocks:

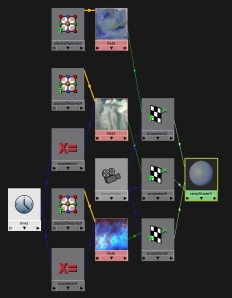
And this was the final graph network:
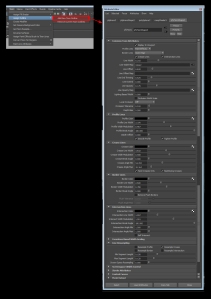
The next stage was to get the right toon shading effect so that it could look like it was painted, I basically just tweaked the settings until I got a look I was happy with:
But instead of just using texture maps, I decided to try using I also decided to have a go at plugging in moving images into the shader, and used 3 different videos of moving paint, converting them into image sequences. This is a test render I did showing the moving texture, and how the light affected them:
This was my final ice blocks test, where I ended up using still texture images.


